Getting Started: Difference between revisions
Replaced content with "{{:Data:Getting Started}} == Tips from players == <!-- This part is yours: add your own tips here. The guide above is kept up to date by the addon. -->" Tag: Replaced |
|||
| (64 intermediate revisions by 3 users not shown) | |||
| Line 1: | Line 1: | ||
{{:Data:Getting Started}} | |||
== | == Tips from players == | ||
<!-- This part is yours: add your own tips here. The guide above is kept up to date by the addon. --> | |||
Latest revision as of 03:04, 30 October 2026
New to the realm? Every adventure begins in Astari Forest. This page takes you through your first hours there: how to move, what is on your screen, your first fight, your first quests, your gear, and how your Titan grows stronger. Wherever another page has the details, such as a zone's map, a quest's rewards or how fishing works, this page links there. The game has a short guide of its own under Help › Getting Started.
Where you are
You start in Astari Forest, a quiet wood south of the city of Hallengard. Its page has the map with every exit and every NPC marked, the creatures that live there and what grows and swims in it: keep it open while you play. Your first stop is Lord Tobias, who has your first quest.
Every place in the realm and how to get there: Zones.
Moving around
- W / S or ↑ / ↓: move forward and back
- A / D or ← / →: turn left and right
- Space: jump
- Hold Shift: walk instead of run
- Enter: open the chat and send
- Esc: clear your target
- Hold the left button and move the mouse to turn your character.
- Hold the right button and move the mouse to swing the camera around.
- Hold both buttons to run forward; move the mouse to steer.
- The mouse wheel zooms the camera in and out.
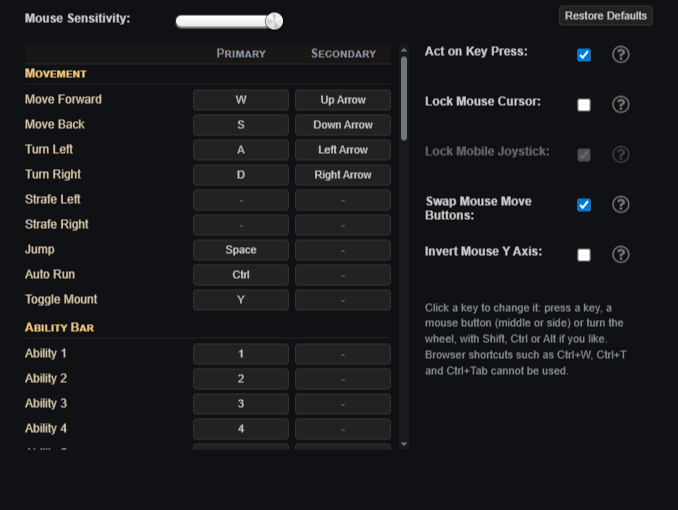
Your own keys: open Settings (the gear button next to the volume menu) › Controls. Every action can have two keys, including mouse side buttons, the wheel and combinations with Shift, Ctrl or Alt. Besides moving, the ability and item bars and targeting, there are keys for Loot All, Look Behind, Overhead Map (hold), Reset Camera, the mount, and every window: inventory, spellbook, talents, quest log, crafting, training and more.
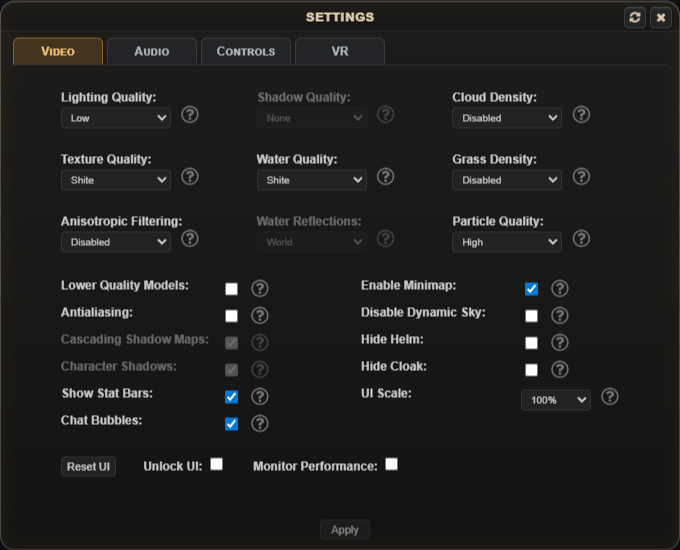
The other tabs of Settings are Video (quality, shadows, water, grass and more: turn things down if the game runs slowly), Audio and VR.
Your screen
You and your target
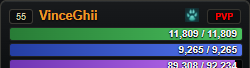
Your own frame shows your level, name, health, mana or rage and experience. Click an enemy and its frame appears beside yours, with its health and more: a good way to size it up from afar before a fight.
Ability and item bars
Your abilities sit on the ability bar, on the number keys (1 to 0). Potions and food go on the item bar, on Shift+1 to Shift+0. Both have more pages, which you can flip through.


The buttons at the top right open the main menu. Training and Manage are the ones you will use most: Manage holds your Inventory, Spellbook, Talents, Crafting, Quest Log, Pet, Ship, Gold Vault, Legion and the Auction House. Help has the game's own guide, the rules and I'm Stuck! if you ever are.


The quest tracker
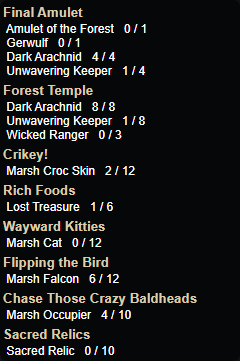
The quests you are on, with what each still needs, are listed at the side of your screen, so you rarely need to open the quest log.
Talking to people
There are as many allies as there are foes in the realm.
- Friendly NPCs cannot be attacked. Some give quests, some sell gear or supplies, and some just like to talk.
- Hostile NPCs exist to be slain, and usually attack when you come near.
Talking to an NPC: walk up close and click on them. Their window shows what they offer: quests, a shop, or both.

In Astari Forest, Lord Tobias, Walter, Helena, Cedany, Sid Bearitt and Merek all have something for you. Every NPC, with their shop and quests: NPCs.
Your first fight
Combat is in real time: your enemy will not wait for you.
Targeting. Click on an enemy, or press Tab for the nearest one and again for the next. Shift+Tab goes back to the previous one. Enemies that attack you are targeted automatically.
Attacking. Use the number keys (1, 2, …) or click the buttons on your ability bar. Every ability has a range, so you must be close enough to use it. An ability you can't use right now is greyed out.
Where to start. The Astari Bears and Astari Elks of the forest are the gentlest there are; the Astari Avem and the Astari Protectors come later. Every creature's page shows its level, its health and what it drops: Creatures.
- Melee: every class has one. It costs no mana or rage.
- Magic: Priests, Philosophers and Druids; boosted by intellect.
- Physical: Assassins, Titans and Druids in cat or bear form; boosted by strength.
- Heals: some classes heal themselves and their party. Cast a heal while targeting an enemy and it heals you instead.
- AoE: hits several targets at once.
- Over time: damage or healing dealt in ticks a few seconds apart, over the time the ability names.
- Channelled: works as long as you keep casting it, costing mana every tick.
- Buffs: strengthen yourself and sometimes others. A shield is a buff that absorbs damage.
- Stuns: hold an enemy in place for a moment.
- Taunt: makes an enemy attack you.
What your class can do: Assassin, Titan, Priest, Philosopher and Druid.
Loot

Slain enemies may leave a chest behind. Click it, or give Loot All a key and pick everything up at once. What each creature drops, and how often, is on its page.
Quests
Help the people of the realm, and they will reward you with experience, gold, points and sometimes gear. Your first is The Beginning from Lord Tobias, which teaches you to fight; he has more for you afterwards. Each quest's page tells what it asks, what it gives and which quest follows.
- Many quests unlock the next one, so a quest line can go on for a while.
- Some quests let you choose one item as a reward, on top of the items everyone gets. You pick it when you hand the quest in.
Done once. Every area has a set of them, usually about slaying certain enemies or entering the area's temple. Only these can reward gear.
Can be done again, a few more times but not forever. Usually grinding quests with good experience and points.
Marked [Daily]: once a day. Almost every area has one.
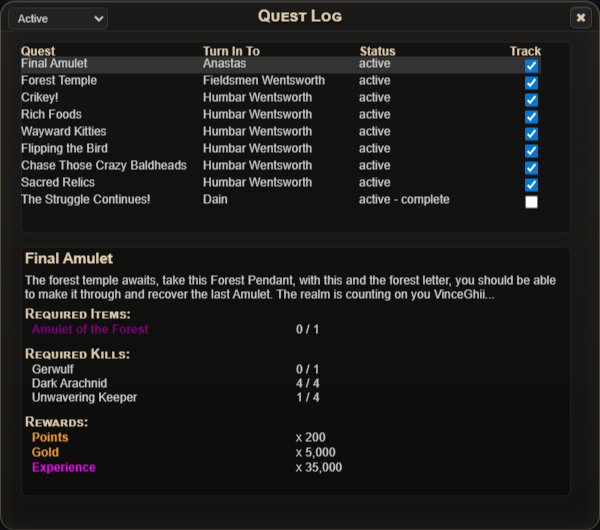
The Quest Log (Manage › Quest Log) lists your quests, Active, Complete, All or Dailies, with whom to hand each in to, and lets you choose which the tracker shows.
Good to know
- Some quests ask for items you have to buy from an NPC, for gold or in trade for other items. Those items usually drop from enemies as well.
- Some enemies and items only appear once you have started the quest that needs them. In a party you see them if any member has started it, even after you have finished it yourself.
- Most areas don't need quests to enter, but a main quest line opens the final areas. Doing every quest you find keeps you from hitting a wall later.
Every quest with its giver, rewards and what follows it: Quests.
Your gear
Quest rewards are your first gear: put it on as soon as you get it. Your inventory (Manage › Inventory) holds all your items, with your equipped gear and your stats beside it.
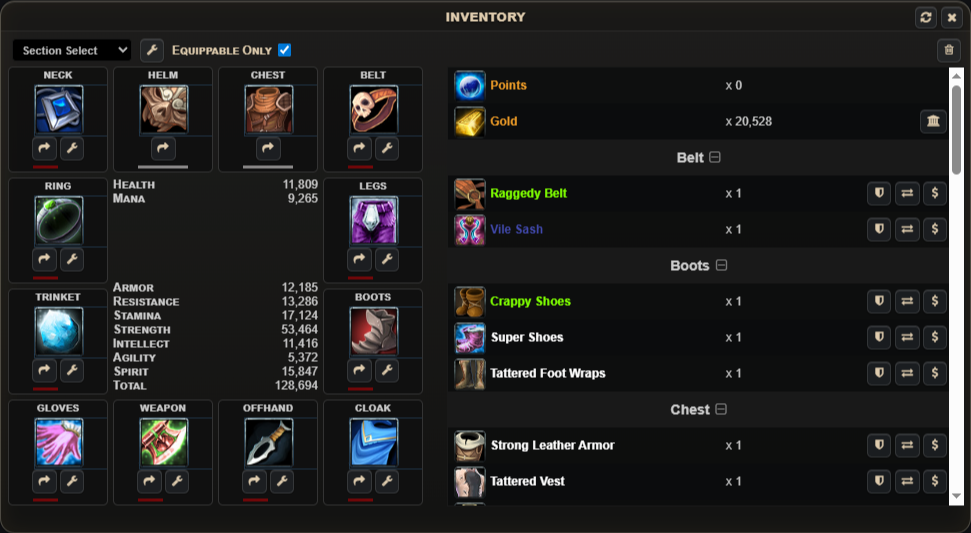
- Equip / Unequip: put gear on or take it off.
- Consume: use a potion or food, mostly to restore health and mana or rage.
- Sell: sell it for the "Value" shown on it. Sell all junk (the bin at the top) sells every grey item at once. Be careful, as some items can never be found again.
- Bank (next to your gold): puts gold in the bank, where it earns interest every day.
- Durability: gear wears down every time you die, and gear at 0 durability does nothing. You can repair it for a little gold.
Every item and where to get it: Items.
Professions
Besides fighting you can gather and make your own items: Fishing, Herbalism, Cooking and Alchemy, all in Manage › Crafting. A profession grows by doing it. Each has its own page with how it works and what you find where, and Crafting has them all side by side.
Two quests in Astari Forest are a good first try: Herbal Essences from Helena for Herbalism, and Hook In Mouth from Cedany for Fishing, which is a minigame of its own. Every fish you catch is listed in the Fishing Log, in the crafting window.
Temples
Temples are dungeons inside the zones, with tougher enemies and bosses, and many quests send you into one. Your first is The Catacombs in Astari Forest, where Merek's Evil Lurks sends you. Inside a temple, the Reset Temple icon lets you start it over. Every temple and where to find it: Zones.
Growing stronger
Spellbook
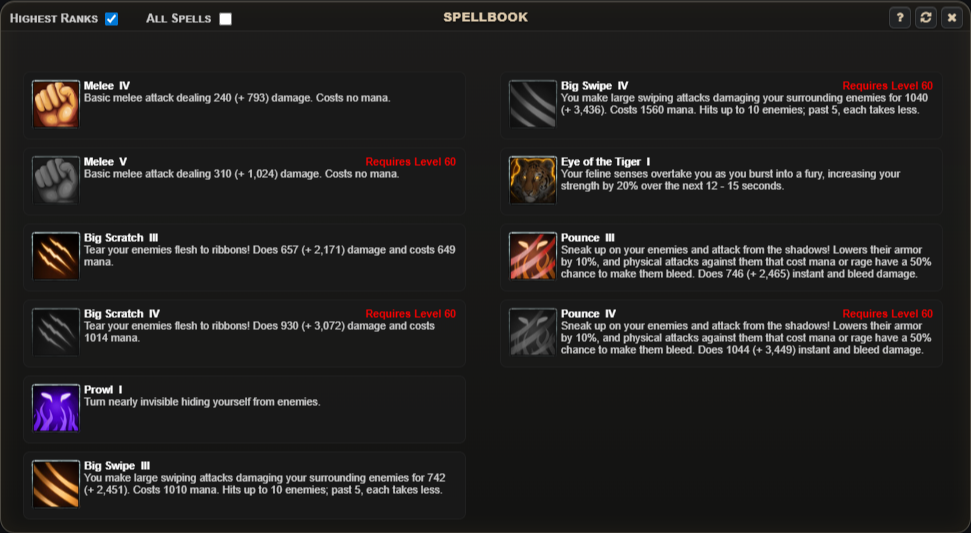
Your abilities are listed in the spellbook (Manage › Spellbook).
- You learn new spells and ranks automatically as you level up. A new rank replaces the old one on your ability bar, and a new spell goes into a free slot on its first page. Ranks you haven't reached yet say at which level they come.
- Highest Ranks shows only your best rank of each ability; All Spells shows every rank.
- To place an ability: click the spell's picture in the spellbook, then click the spot on your ability bar.
- While the spellbook is open you can also rearrange the bar. Otherwise a lock on the bar keeps it from being changed by accident.
Training
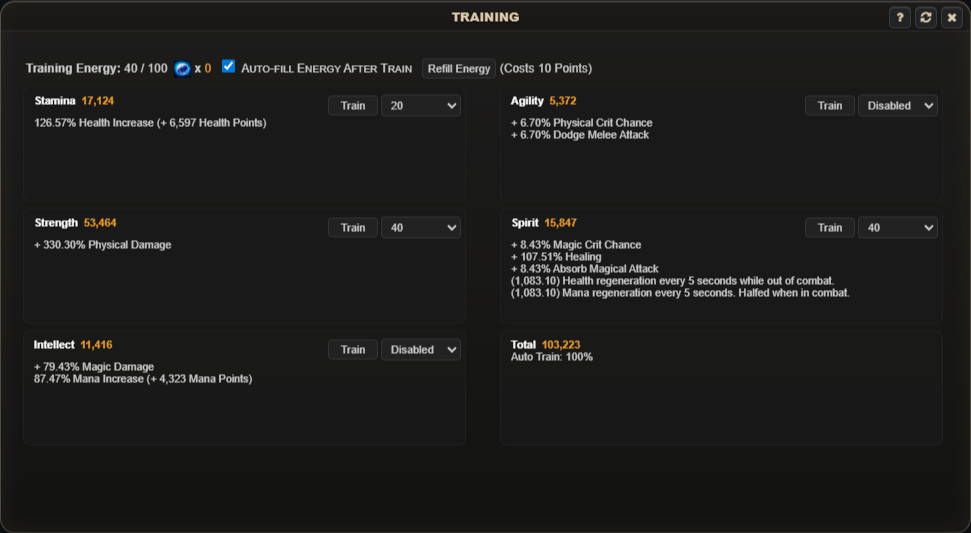
Your attributes grow in two ways: training and better gear. Start your training (the Training button) right away, and set up auto-train.
- Training runs on energy, up to 100, which refills over time; Exalted Players refill twice as fast.
- Pick a stat to train and your energy goes into it.
- Auto-train: set your values once, and the game trains for you whenever your energy is full while you're online.
- Refill Energy fills your bar at once for 10 points. With Auto-fill Energy After Train it does so after every training.
- Points belong to your account, not your character. You earn them from quests (daily ones included), the Proving Grounds and becoming a Titan of Time.
Training and gear work together. Training raises your base attributes, and gear multiplies them. With 1,000 stamina and a chest giving +10% stamina, you have 1,100 stamina. Attributes in turn raise your stats, again by percentages; see Classes.
Talents
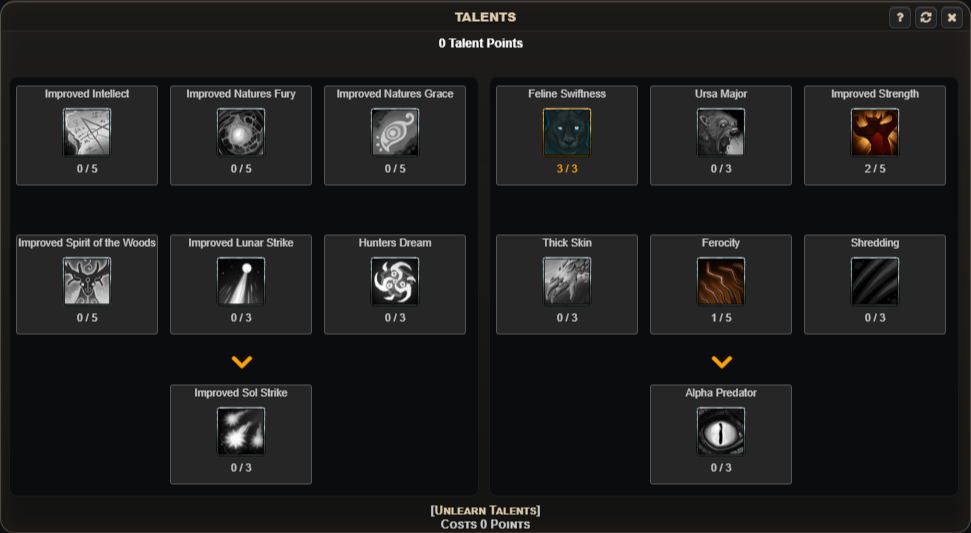
Every class has its own talent tree (Manage › Talents) to make your character stronger.
- You get 1 talent point every 10 levels, and each talent costs 1 point. Some quests give talent points too.
- Some talents need another one learned first, and you need 5 points in one tier to unlock the next. The left and right halves of the tree count separately.
- Some abilities can only be learned through talents.
Resetting talents (Unlearn Talents): the first reset is free. Every reset after that costs 5 points more than the one before (the 2nd costs 5, the 3rd 10, and so on), so plan your tree.
Proving Grounds

The Proving Grounds (I to IV) are sealed arenas hidden throughout the land, so you have to find them yourself. Each has three difficulties: Normal, Hard and Insane. Each gives points and gold once, and finishing a harder one also counts the easier ones.
Moving on
When the forest has nothing left for you, Lord Tobias sends you north with Time To Begin: through the gate to Hallengard, to meet his brother Cassius in the Tavern. There Tina sells the Hearth Scroll, which takes you to your home (chosen with Make Home) once an hour, but not in combat. From the city the realm opens up: see Zones.
Mounts

Mounts are sold in Hallengard by Finn, next to Chef Rake, who sells spices. There are three, each with its own speed: 115, 150 or 190, against your own 100. Press F (the default) to mount and dismount. You can't mount in combat, and getting hit knocks you off.
Pets

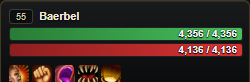
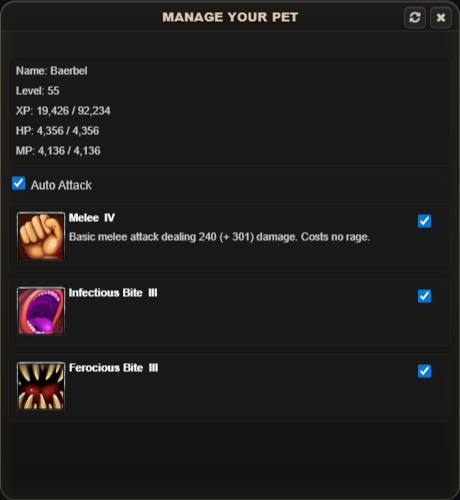
Later you can buy a pet for 5,000 gold from a pet vendor: Walter Wentsworth in the Emerald Field, Jagger Wentsworth in the Frozen Wastes or Fallenbahr Wentsworth in the Fertile Lands. You own up to five, one active and the rest in the kennel. A pet has its own bar: you order the attack, it uses its other abilities on its own, and it gains experience only while summoned and alive, never from quests.
Ships
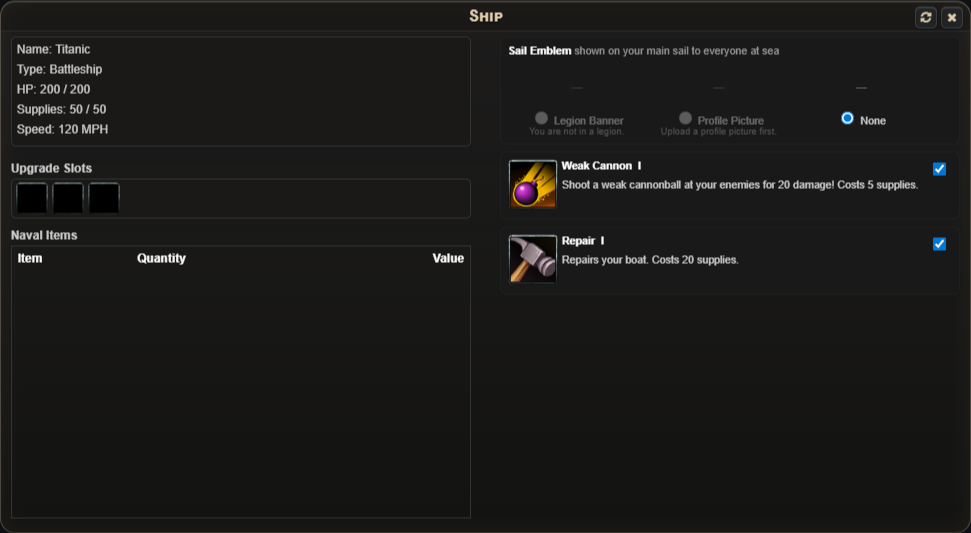
Many places lie across The Undying Sea, and you sail there in your own ship (Manage › Ship), with its hit points, supplies and upgrades.